For card image replacer, this should still work perfectly fine. I don't use any exported cards for use in the studio because they can have weird issues with missing data, so I always pop 'em into the maker to make a final save, and have a "real" card, if that makes sense. You should be free to alter this card in any way you see fit, it will be treated like any other card.
Various texture maps being replaced when copying is an unfortunate drawback, but it is simple enough to export the maps manually. I have a "foundation" preset I modified from Anna Anon for face/body utilizing particular normalmaps, linemasks, detailmasks, etc. If I am popping this onto another character, it is either to serve as a complete replacement, or to make further modifications easier since all those settings will already be saved and baked into the card when I export it.
Furthermore, I generally don't want whatever texture maps the original card was using anyway as the ones I intend to use are made for the base preset I have configured. There are a few exceptions to this with things like nipples, genitalia, and hair. These are simple enough to export piecemeal and preserve if I intend to keep them.
Linemasks or normals for skin details can also be a bit problematic, but TBH it is easier to just export ALL of these from the game, and then import them via Studio. You can pick whatever you want on the fly and modify it to a much greater extent in Studio than in Maker.
Honestly, the Maker is total trash with how much it gets in your way with trying to make changes. It also not supporting post-processing is a huge negative, because your card WILL look different in the Studio no matter what. I mainly use it just to make the actual body/face and play dress-up simulator for more hours than I'd like to say. But once that is all done, I pop it into Studio to carry out any and all material alterations because it is just sooooo much faster.
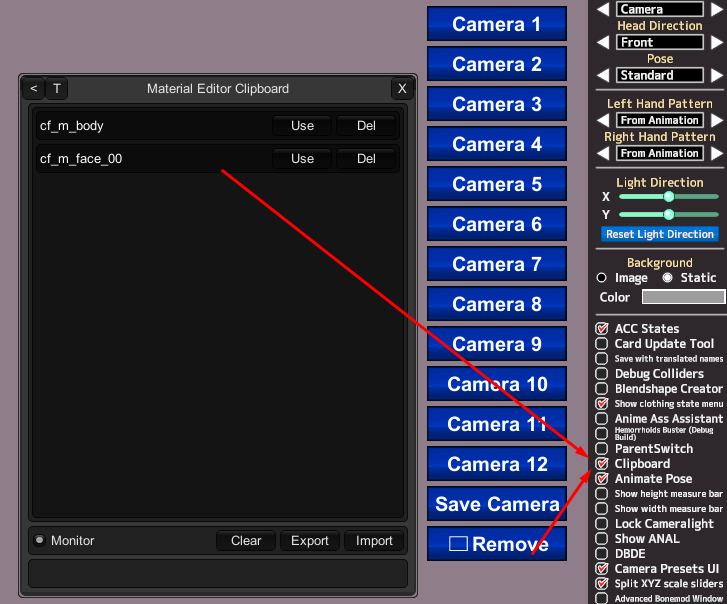
One more protip, if you've found creating overlays to be a pain in the ass since you have to "bake" all the stuff you might want into ONE overlay while constantly going back and forth from studio to your image editor, fear no more.
Copy the face and/or body material, then set the copy to some kind of Alpha shader. I generally use MainItemAlphaPlus, but others can provide a slightly different appearance for things like sweat or other fluids. Set the Render Queue to one digit above the original material, and then import your desired overlay. Bam, you now have that overlay on the character, and you can tweak transparency/customambient, etc right there.
You can even make multiple copies and layer several overlays atop one another.
This is what I have done to create some of the characters I have been working on, for example, Rio from Summer Memories. She is a hodgepodge of like 14 different overlays, many of which I severely edited to preserve specific details I wanted to keep without interfering with others.
There is a pretty serious drawback to overlaying several times like this via ME: you will end up with textures clipping through meshes. This can be fixed by either throwing in a body alpha mask (to hide those parts entirely) or simply tesselating the clothing a nudge or two so the clipping goes away. The cool thing is, if you export a character like this from the studio, those material copies are preserved. You can then pop that export into maker, and they will still be there.
A real downside to this kind of severe abuse of the ME is it MASSIVELY bloats the size of cards. Do not ever post a card like that, it will piss people off. To make a card prepared in this fashion "release ready" (and to also solve the clipping problem permanently), you would have to bake all the combined overlay textures into a single overlay, to use via the actual overlay plugin. But you can use ME layering and editing to make the fine real-time adjustments, like "oh that looks better with this transparency", or "oh that looks better with this slight change to the tint", etc. This has massively improved the overall workflow of material editing and overlay creation for me. Don't have to just sorta piss in the wind with your image editor.